
Sparkling and Bright: How to Clean a Neon Sign
Neon signs are a timeless and attractive way to draw attention to a business or brand. However, over time, dirt, dust, and other debris can accumulate, making your sign look less than its best. It’s essential to keep neon signs clean not only for aesthetic reasons but also for their longevity. But how does one go about cleaning a neon sign? In this blog post, we’ll explore the process of cleaning an exterior neon sign and share tips that will help keep your neon sign sparkling and bright for years to come.
Step 1: De-energize and Lock-Out
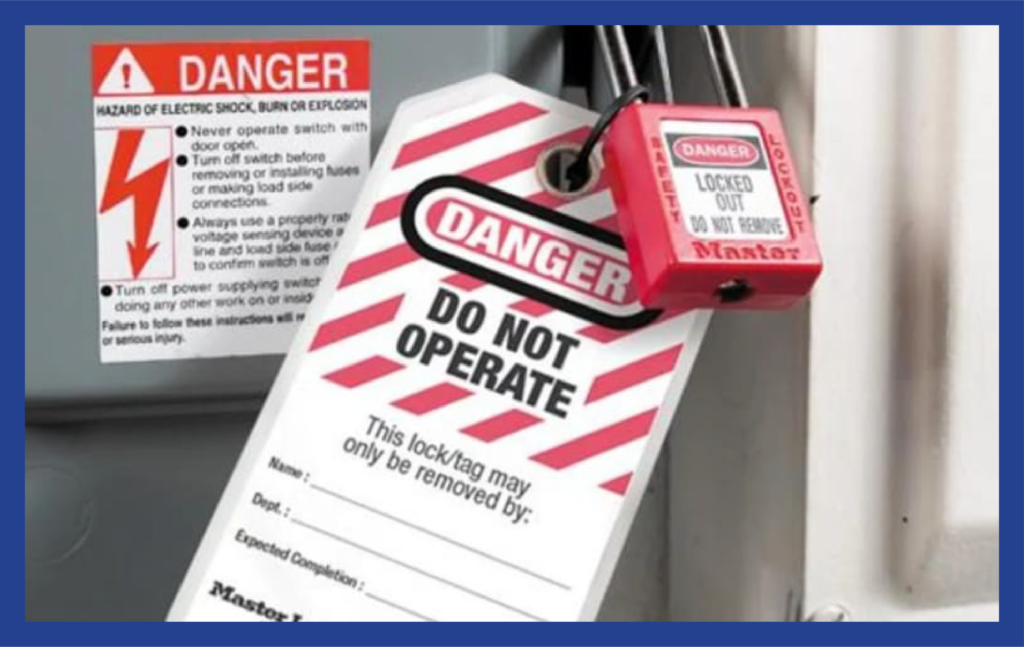
The first step in cleaning a neon sign is to de-energize the circuit and put a lock-out tag on the breaker. Neon is a high-voltage product that can be dangerous, so this step is crucial for your safety. Ensure that the breaker box is locked out and tagged, to avoid any accidents.

Step 2: Open Faces and Inspect
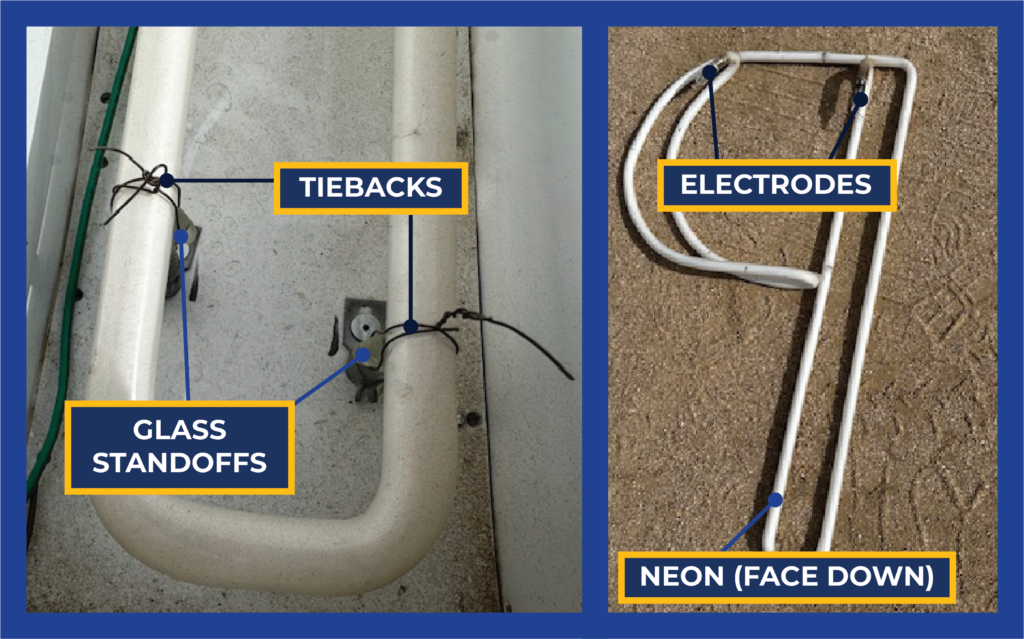
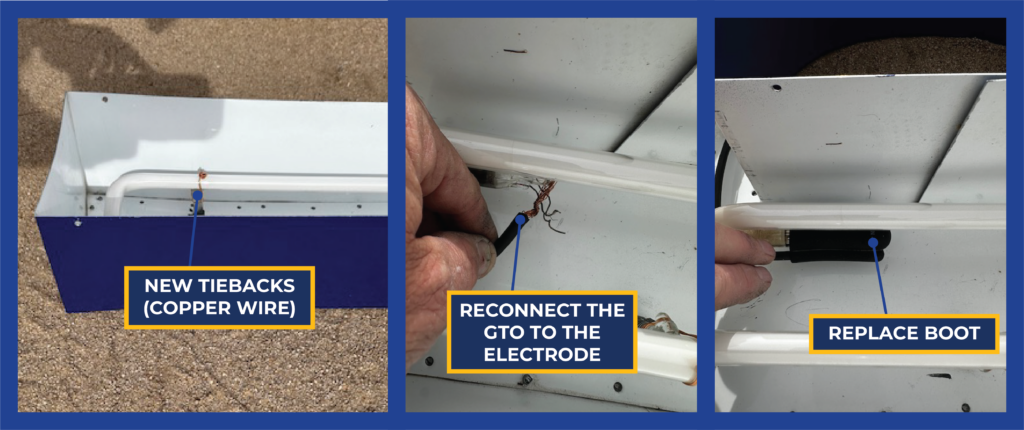
Next, you need to open the faces to get access to the neon and set the faces aside for cleaning later. Once the face is removed, inspect the neon sign for any cracks, fractures or burnt electrodes. You might have to pull back the boots (the protective sheathing attached to the neon tube) for a full electrode inspection, but when you do, remove the GTO connections and inspect the GTO as well. Any defects found will indicate a need for service.

Step 3: Remove Tiebacks and clean neon
The next step is to remove the tiebacks and pull the neon from the can. Lay the neon face flat on a service avoiding any high spots as that may cause cracking. Take a microfiber towel with deionized water and clean the neon. The DI water prevents spots and is super helpful when working in the field.

Step 4: Clean the Cans and Faces
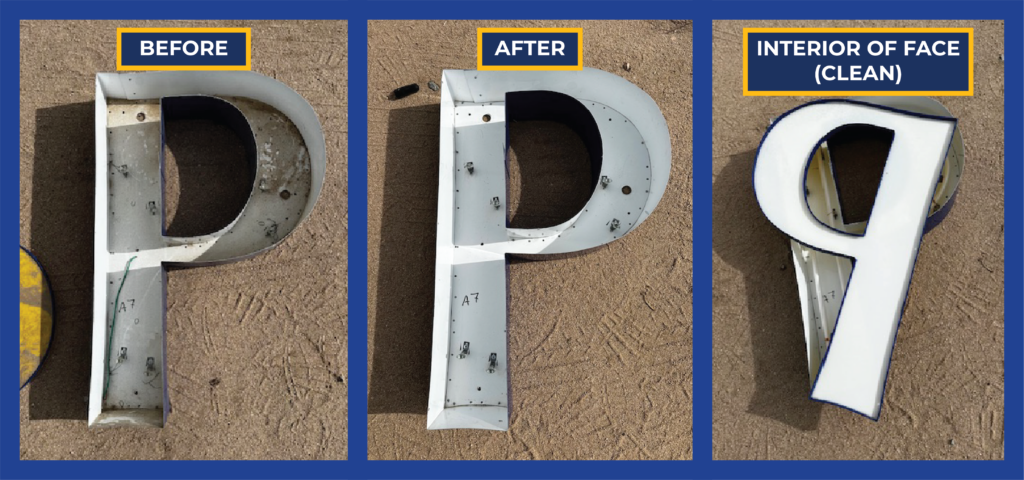
While the neon is out, clean the cans and faces with a non-abrasive mild detergent. Abrasives will ruin your face. A clean face and can will make sure everything is shining bright. Any dullness on the surface of the neon’s can or letters can detract from the overall effect of the sign.

Step 5: Put It Back Together
After cleaning, it’s time to put everything back together. Make sure you reattach all the components and tieback to the sign securely in the right order. It is best practice to re-inspect your work before turning the power back on to ensure that everything is in place and operating correctly.

Conclusion:
There you have it! Cleaning your neon sign is a vital step in its maintenance and upkeep. If you’re not comfortable cleaning your sign yourself, consider hiring a professional. They have the equipment and expertise to carry out the job efficiently and with minimal risks. By cleaning your sign regularly, you’ll be ensuring its longevity and making sure that it continues to shine and be an attractive and functional advert for your business or brand. So next time you’re walking down the street and see a neon sign, remember, there’s a lot more to it than meets the eye, and its shine comes from a lot of work!

Ready to elevate your signage? Contact Innovative Sign Systems today for expert design, permitting, and installation services that make your brand stand out. Request a consultation today.
]]>